To be honest I had never heard of Sato Racing Street Hooks let alone thought about fitting a set.
I was busy trawling the 1000RR Forum, as I often do since buying the Blade, and came across a photo of a bike with Sato Racing Hooks which I immediately liked due to there neat and tidy appearance. Reading on a little further I discovered Sato Racing made two specific styles of Hook’s. The Race Hooks are, as the name implies, designed as a secure anchor point for race bikes to be attached to trailers.
The Street Hooks do the same job but with the added benefit of allowing you to re-attach the pillion foot pegs in a mater of minutes. This is perfect for my requirements as Ben and Jeannie both enjoy a ride out every now and again.
What I want is a tidy rear end on the Blade! With the stock pillion foot pegs being silver I just had to do something to sort them out and so I ordered a set of Black Sato Racing Street Hooks from IntoBikes then waited 10 days for them to arrive. As ever the time flew and before I knew it they were sat on my office desk waiting to be fitted.
With nothing in the diary for today I set about the task of fitting the Street Hooks having read a number of posts assuring me it was a steady 2 hours job.
Here’s my guide to fitting the Sato Racing Street Hooks.
1) First of all you ned to “Tool Up!”
a) 5mm Allen Key (Long & Short)
b) 6mm Allen Key
c) 8mm Spanner
d) 12mm Spanner
e) 14mm Spanner
f) 14mm Socket & Wrench (Socket wrapped in masking tape to prevent scratching)
f) Philips Screwdriver
g) Fine Blade Electrical Screwdriver
2) Set the bike up so it’s easy to work on and place a towel over the rear hugger or rear wheel if you do not have a hugger fitted.
3) Remove rear seat using ignition key. Unclip the 2 covers found under the front seat taking care not to brake the mounting lugs, unscrew the 2 phillips crews and remove the front seat. Lay out parts in order as you go.
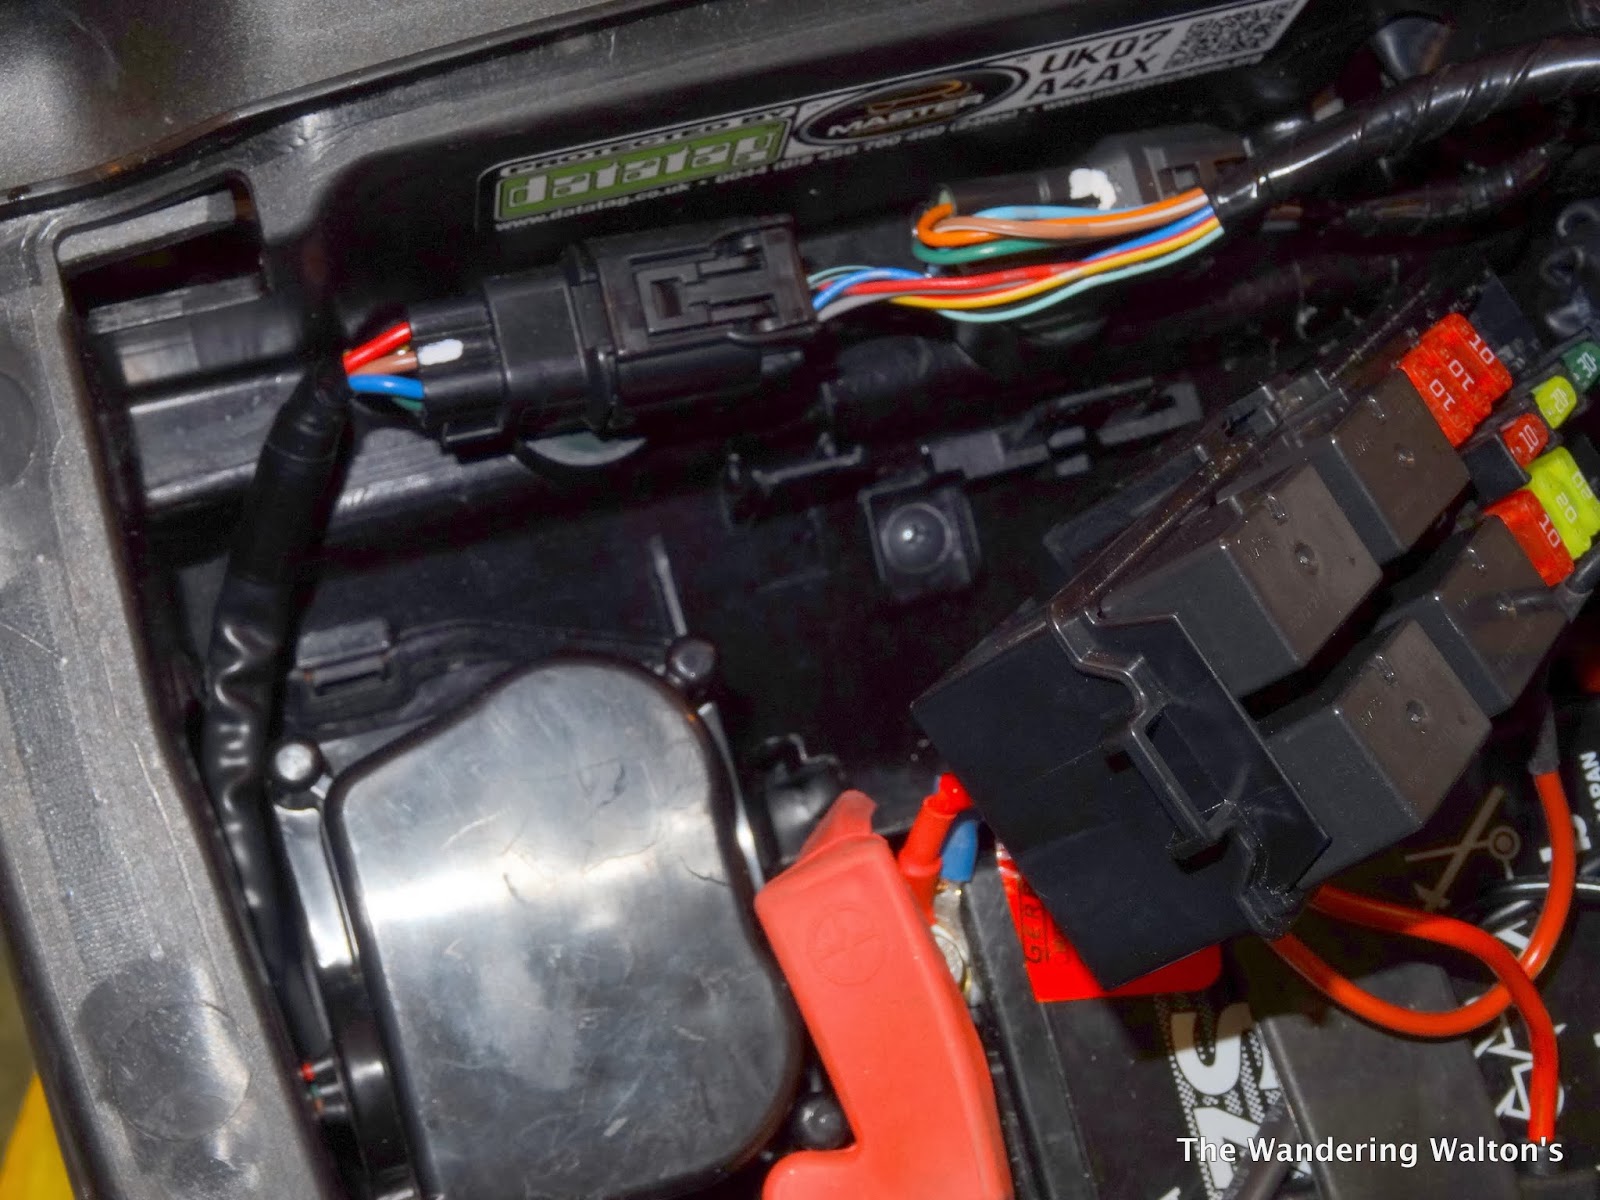
4) Take the fine electrical screwdriver and slide it down the back of the fuse block between the very slim mounting clip and lift the box up and forward. This will reveal a phillips screw that holds the rear light section in place at the front. Remove the screw and whilst your there disconnect the right hand electrical connector. Also unclip the small white electrical connector tucked down the right hand side (when your stood on the right of the bike looking back) of the battery.
5) In my case I removed the Venture Luggage Rack. If you do not have a rack fitted you will find 4 black 5mm allen screws tucked inside the pillion grab holes under the rear fairing. Use a torch if you are struggling to see them and remove 2 of the 4 allen screws with the long 5mm allen key. Loosen the remaining 2 allen screws but leave attached to carry the weight of the rear light section.
6) Working from above remove the 4 black 5mm allen screws and the 2 push though plastic pins from the rear fairing. Also remove the 2 chrome 5mm allen screws just behind the tank cover and the 2 on the side just in front of the seat fastening screws. Lay all parts in order to one side.
7) Now stand at the back of the bike and holding the rear fairing assembly as far forward as possible ease the left side out and lift, then do the same to the right. You need to unhook the two plastic lips from within their slots. Once you have done this just slide the whole section backwards and put with the rest of the kit.
8) Next remove the two loose allen screws from underneath the rear grab holes and slide the whole light assembly back and away from the bike. Carefully passing the two electrical connectors through the hole in the frame.
9) I then removed the rear seat lock assembly using the 8mm spanner followed by the aluminium cross member underneath using the same 8mm spanner.
It’s now time for a brew!
10) In readiness for splitting the sub frame I layer a cloth on the floor so as to protect the paintwork. Using a 12mmm spanner remove the bolt at the very rear of the sub frame.
11) Now with the 14mm socket and wrench remove the two bolts holding the right hand side sub frame to the main frame. The right hand side sub frame will now lift away once unhooked from the battery case which just hooks over the top edge a little.
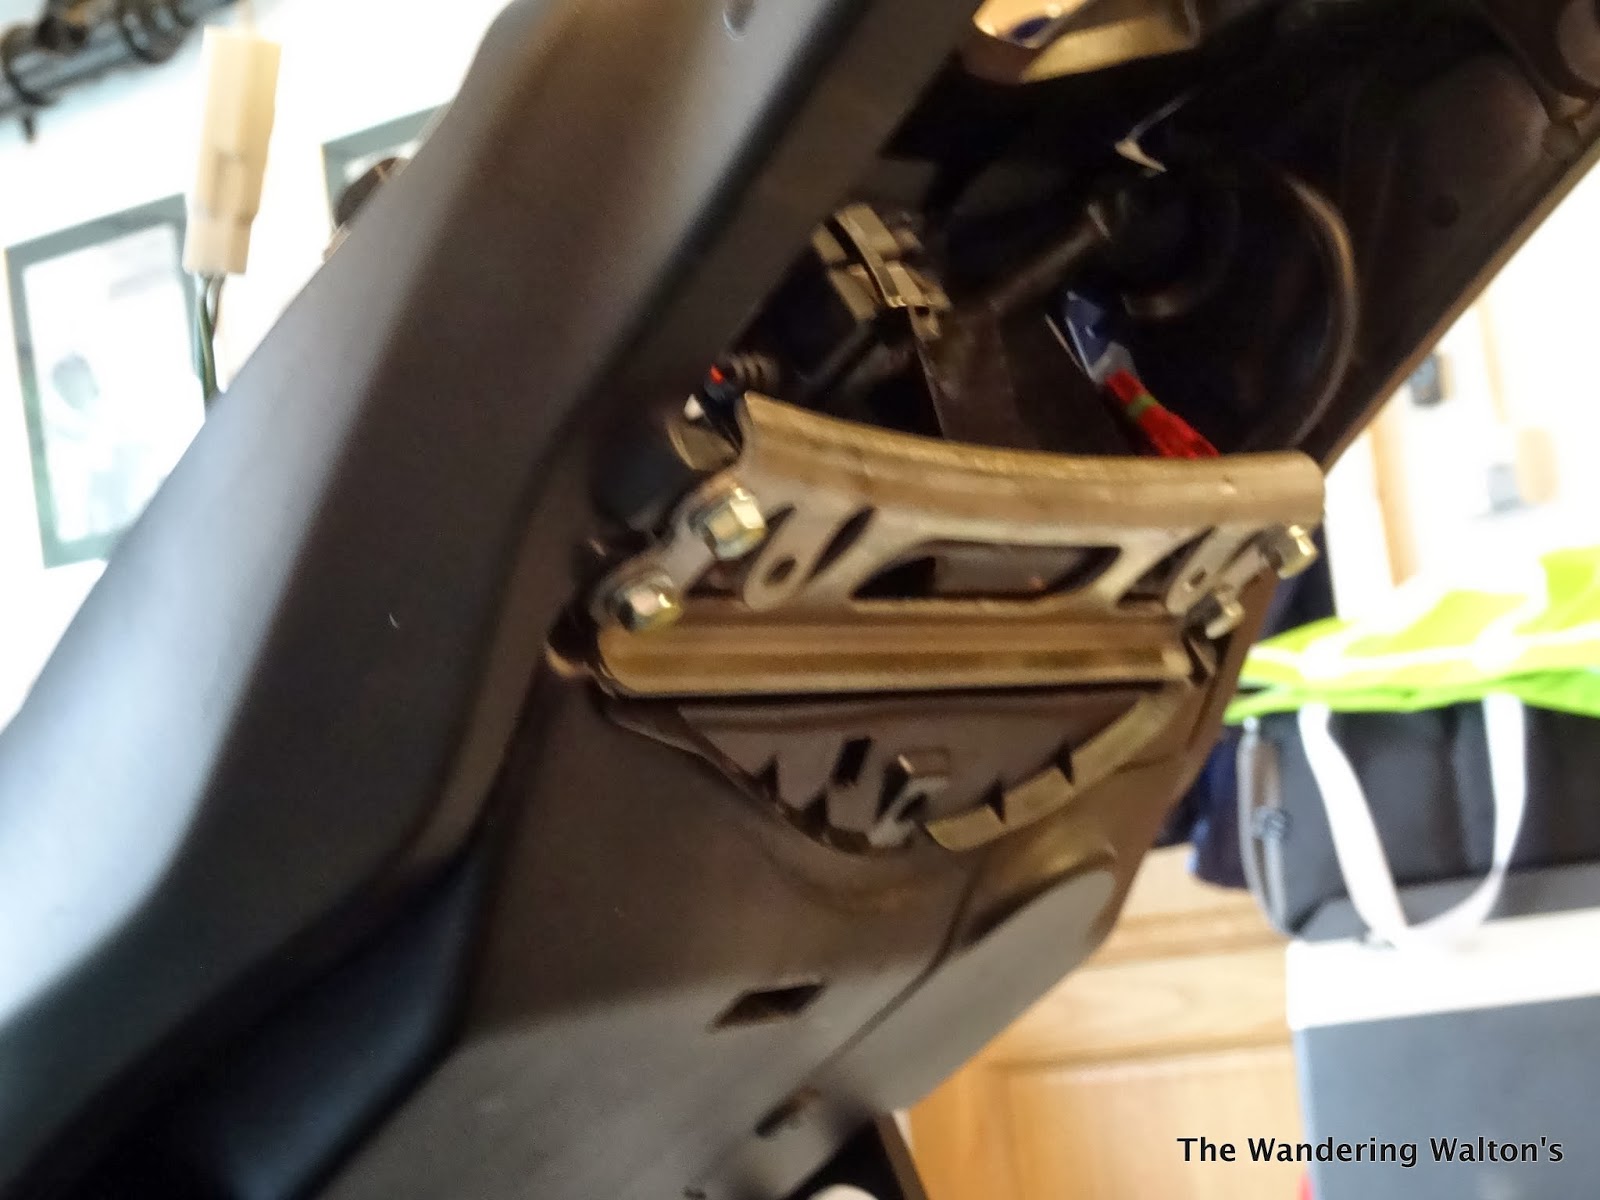
12) Place the right hand side sub frame face down and remove the rear foot peg using a 6mm allen key. There is a fair amount of thread lock on the bolts. The bolts will make a loud ‘crack’ sound as the thread lock gives way. If you are struggling, use a 6mm allen wrench for extra leverage.
13) Attach the Sato Street Hooks using the original 6mm allen bolts.
14) Re-attach the right hand sub frame to the main frame using the 14mm socket and wrench. You will need the 14mm spanner to hold nut on the lower longer bolt in order to tighten it up.
15) Repeat the process on the left hand side.
Taking your rear end from this
To this
To this in a matter of minutes
Result!
16) With both sub frames re-attached start to re-assemble the rear section. Refit the locking mechanism, re-insert the 2 plastic clips. I took this opportunity to fit slightly larger and stronger clips.
17) Re-fit the lower cross member and the 12mm bolt at the very rear. Slide the rear light assembly back into place and fasten loosely with the 4 black 5mm allen screws then attach the philips screw under the fuse box. I threaded the wiring back through the hole and clipped the two electrical connectors back together and refitted the fuse box at the same time. With that done I tightened the rear light assembly bolts in the pillion grab holes. Test your indicators and brake light before going any further.
18) Next refit the rear fairing section ensuring the two plastic lips slot back into their relevant slots. Now screw the 4 black 5mm allen screw back in, do not be tempted to push them through the rubber as its far easier to just crew them in.
19) All that is left to do now is refit the rear seat (or cowling) and refit front seat and side panels.
20) Now stand back and admire your Sato Racing Street Hooks!
As a foot note. I am no mechanic and the whole process took two hours, that included me Tweeting the whole process and taking loads of Photo’s. If you do decide to undertake this task, this blog is meant purely as a guide and I will not be held responsible in any way, shape or form for your work.


Ray. What a great write up. Its not often people take the time to write a good post with photos too so well done. I really enjoyed it.
ReplyDeletecheers
paul
Ray. What a great write up. Its not often people take the time to write a good post with photos too so well done. I really enjoyed it.
ReplyDeletecheers
paul
Hi just fitted sato racing street hooks to cbr1000rr9. Does anybody know what torque settings are for subframe bolts
ReplyDeleteThanks
I have just bought a blade with rear pegs in a bag .after reading that great post about fitting i would not have bought that particular bike i wouldn't even think about dismantling all that now shop is to far away and will have to pay a closer shop probably a small fortune to do job🤕😭
ReplyDeleteI have just bought a blade with rear pegs in a bag .after reading that great post about fitting i would not have bought that particular bike i wouldn't even think about dismantling all that now shop is to far away and will have to pay a closer shop probably a small fortune to do job🤕😭
ReplyDeleteThanks for this informative post. Couldn't have done without it today. (2011 Fireblade, now with no pillion pegs!!)
ReplyDeleteGreat work here mate.
ReplyDeleteVery informative and easy to follow.
Made light work of removing the rear sets on my 2016 Blade RR
Thank you.
Thank you, just removed my rear pegs and found this link extremely helpful
ReplyDeleteKnowing what to do instead of feeling your way made the job so straight forward
2 hours start to finish including a cuppa
Thanks again
I’m going to fit my sato pegs on the weekend thanks for the tip mate. Couldn’t find nothing on you tube about this. Wasn’t sure if I should do it my self as I didn’t wanna mess up my bike but I’m gonna give it a go wish me luck
ReplyDeleteI’m going to fit my sato pegs on the weekend. Thanks for the tip mate. Couldn’t find a video on you tube regarding this. And I didn’t wanna mess up my bike. But I’m gonna give it a go wish me luck
ReplyDeleteI’m going to fit my sato pegs on the weekend. Thanks for the tip mate. Couldn’t find a video on you tube regarding this. And I didn’t wanna mess up my bike. But I’m gonna give it a go wish me luck
ReplyDelete