Wednesday, 19 March 2014

MancRiders Speedway Challenge 2014 - Part 1 The Northern Loop


Every year I like to take on a ‘Challenge Ride’. Something thats a little different, takes thought and planning to complete and gets me visiting places I’ve never visited before. Secondly it is always nice if I can raise awareness and a little money for a worthy cause!

This year I’ve taken up BadBoyBez’s MancRiders gauntlet.  The challenge is to visit 40 former and current Speedway Circuits  throughout the United Kingdom (whilst we still have one!).

The cause, to raise awareness of the Haemophilia Society. Why? Well thats where this particular challenge has me welling up, even as I type this Blog.

On September 2nd 2013 Lefty, a good friend and founder member of the MancRiders, took great pride in posting this on our forum:- 

 The New Manc Rider 
‘the new addition arrived last night at 23-50. Welcome to the world Elliot’ 

The New Manc Rider
Elliot Henry Smith

Needless to say we were all overjoyed with the news. Lefty becoming a grandad was brilliant, it meant we could give him some stick for officially becoming an ‘old bodger’. As often happens I missed the initial volley of replies being out of the country on another ride.

As I read through the well wishes from all our members I was devastated to read this posted just 8 days later:-

‘short update on the new Manc Rider. Our Elliot has been born with a condition known as Haemophilia, its controllable but incurable. He will have to be careful in life, he won’t be as robust to damage as you or I. We're taking the positives from the situation as the negatives just make me twisted. If there is a god and he browses this forum………..’

What do you say to that? Jeannie and I were devastated but just being upset is not enough. You can read all about Elliot in his Blog, Haemophilia and Elliot. We wish you well "Little MancRider".


Luckily for all of us BadBoyBez was ten steps ahead and within the month he had the bare bones planned out.

When all else fails what do the MancRiders do? ‘We Ride!”

Bez worked like a trojan to get the ‘MancRiders Speedway Challenge 2014’ organised, planned, plotted and ready for a January 2014 start. Packs were printed, stickers produced, “as you know how bikers love a sticker or two” and with the initial ten MancRiders signed up it was all systems go. Well it would have been if the weather had been a little kinder to us that is. 


After making the £15 Donation, every penny of which goes to the Haemophilia Society, I waited. A couple of days later my pack arrived which contained my number (#010 in my case) a few stickers and the Speedway Challenge Book containing location address’s. I took a whole day to plot each and every location into BaseCamp. I then cross referenced each and every location with Google Maps. Even down to street view level so I could plot the exact position of every Speedway Circuit, monument and sign, all to within a few metres. Pedantic springs to mind.

MancRiders Speedway Challenge 2014
40 Locations

Next it was time to plan a route. Now I’m not overly competitive but as there are 2 points per location with your, number and bike in the photo and 1 point if its just you and your number, this is so non bikers can take part with their car if they wish, I got carried away. 3 Days! Don’t ask me why but I narrowed the route down to three one day rides all in the region of 800 miles. Madness!

I do like my route planning
A Lot!

Bez has set up a leader board and there will be a prize for the person with the most points. However if there is a tie in number of points obtained then the ‘Overall Winner’ will be the person who completes the challenge in the quickest time. “Now do you see what drove me to plan a 3 day 2400 mile round trip?”

Certificates will be awarded for the following

Bronze Award for 15 Circuits visited in the Challenge Book

Silver Award for 25 Circuits visited in the Challenge Book

Gold Award for 40 Circuits visited in the Challenge Book

Dave was the first to get the MancRiders Speedway Challenge 2014 off to a flying start in January when he visited 5 Speedway Circuits whilst visiting family in the Newcastle area. As he was in the car he obtained 5 points over 4 days in the car.

Last week the sun came out and as the lads know all too well, “Sun’s out, I’m Out”

Monday 10th March
Day1, 9 Circuits, 225 Miles - 18 Points 

I thought I would just sack the big three day rides and take it at a more sedate pace starting with the local circuits.

Belle Vue Stadium - Manchester

Hyde Road Speedway Circuit - Manchester

White City Speedway Circuit - Manchester

Ellesmere Port Circuit

Stoke Speedway Circuit

Buxton Speedway Circuit

Sheffield Speedway Circuit

Bradford Speedway Circuit

Halifax Speedway Circuit

Day 1 Nice and steady
225 Miles

Tuesday 11th March
Day 2, 582 Miles, 8 Circuits - 16 Point

As I’d already planned doing the ‘Northern Loop’ what better way to get stuck into the challenge than go for it! Riding out in glorious sunshine at Rochdale at 0945 after filling up at ASDA I rode straight into a ‘pea-souper’ over Saddleworth Moors. Being dressed in my leathers was a big mistake. By the time I reached York I was absolutely frozen to the core but I’m never one to shy away from a challenge. As soon as I was North of York the sun came out and the rest of the ride was ‘most agreeable’. Barring the mad dash back down the M6 from Glasgow as it turned dark and I had my tinted visor on. Not great but luckily for me ‘fate’ was on my side and I arrived home at 2015 hours just in time to say good night to Lilie Rose and Ben. Perfect timing if you ask me.

Redcar Speedway Circuit

Sunderland Speedway Circuit

Newcastle Speedway Circuit

Berwick Speedway Circuit

Edinburgh Speedway Circuit

Coatbridge Speedway Circuit

Glasgow Speedway Circuit

Paisley Love Street Circuit

Day 2 Not quite so steady
582 Miles

Wednesday 12th March 
Day 3, 330 Miles, 2 Circuits - 4 Points 

I had not planned on going out Wednesday but as the sun rose my eagerness to tidy up my BaseCamp Map was overwhelming and so I quickly donned my winter riding gear and headed North to Workington which is further from Rochdale than I last remember. Having to be home to collect Lilie Rose from her after school club added a little urgency to the proceedings. So out of the hours at 0935 hours I made good progress and was back in Fleetwood by 1340. Sticking to all the speed limits really meant I was up against it but by stopping for just one fill up and two photos I managed to arrive home at 1515 hours. I even squeezed 180 miles out of one take full of fuel, please don’t ask me how as I’ve no idea. Lets just say the ride from Workington to the Rheged Centre was a very nervous affair being as the low fuel warning light came on way before Keswick!

Workington Speedway Circuit

Fleetwood Speedway Circuit

Day 3 Rush Job
330 Miles

If you would like to take part in the MancRiders Speedway Challenge 2014 please drop BadBoyBez an email at Mancriderschallenge@gmail.com 

All in all I had a brilliant 3 days on the Blade and managed to more than double my recent diabolical effort. The only negative would be the nagging pain between my shoulder blades which a week later is still giving me ‘gyp’. Top tip Raymondo, “when your planning on a fair few miles stick to the winter gear not leathers!”


So as things stand that is 19 Speedway Circuits visited with a further 21 to compete as soon as time and weather conditions allow.

To end on a happy note here’s a cracking video LBK of the MancRiders put together recently just to cheer us all up, I hope your not easily offend as a couple of the images within are for ‘adult viewing only ‘YOU HAVE BEEN WARNED!’

LBK on the Tredmill of Life


‘Ride well & Stay safe. It's a jungle out there!’

Monday, 17 March 2014

Living with the Honda CBR1000 RR

Well after what feels like an eternity, I’m back at the keyboard with an update on the Blade!

A time to ride

Its hard to believe that since buying the Blade back in November 2013 I’d only ridden a paltry 900 miles up until this week. I know my plan was to reduce my milage but 900 miles in five months is just no good. Or is it?

I’ve had a few ride outs, when the weather has permitted, taking in Derbyshire, Shropshire, the Lake District and a few local roads, every mile of which I’ve enjoyed thoroughly. However this week I put my riding head back on and headed North to Scotland for the day, but more about that in my next Blog.

Heading North of the boarder

As for the Blade, well what can I say? The easiest way of describing the Blade I can think of is this:-

“It is the best bike I have ever ridden in my life”. It’s that simple.

In the garage manoeuvring the Blade around is so easy, light, compact and no where near as hard work as the Super Tenere, it is brilliant. As for working on the Blade, well, you can access everything in a matter of minutes and anything that needs to be checked is straight in front of you.  Removing and refitting the subframe is a breeze as is stripping off the side covers, seats and pretty much all the fairing panels. The nose cone takes a little care but once your tuned into what your doing that to comes away with minimum fuss.

Once out and about there is just nothing that can compare to the adrenalin rush when you twist the throttle. Staying this side of legal is the biggest challenge I’ve found. The Blade corners as if its on tracks, never budging and inch and always wanting more. The brakes so far are fine, not as instant as I would have expected but best described as progressive. The KTM 990 used to want to throw me over the bars and would have you stood on end in a blink. The Blade is a little more sedate but solid as a rock. My rear brake is no wear near bedded in but has required a little adjustment already, so as the clutch cable which I’m struggling to get just right but we’re getting there.

I’m a little shocked at just how flimsy the plastics are for a bike costing upwards of £10k and they mark so easily its frightening. Even my tank bag as left  marks after just 2100 miles which has surprised me. Still I can alway buy a new tank cover in a few years time if the need arises.


The Bridgestone Battlax S20 R tyres are proving to be solid, hard wearing and grippy so far. However I’ve not done any track day work on them as yet. I’m  waiting until I’ve been on the Ron Haslam Race School course before I venture around a track. Although I have been tempted a couple of times with Novice Track Days at Oulton Park, which is just down the road. 

Next time 'Novice Class Track Day' Honest

So to date I’ve fitted a whole host of R&G Crash protection and guards, my trusty Garmin 350LM Sat Nav, heated jacket lead (as yet unused), Optimate lead which is used daily and the SM Motech Tank Bag. All of which are working out perfectly.

During my ride up North I noticed how inaccurate my speedo is out by an alarming 7%. So I decided  to buy and fit a SpeedoHealer which took all of 15 minutes to fit and set up. I’ll give more feed back on that bit of kit once I’ve had chance to evaluate it over a decent amount of miles.

Just a 15 minute job

Fitted and working

So all in all its fair to say I’m loving the Blade, all except for one element that is. It’s been a while since I was on a sports bike, the last one being the Triumph Daytona 675 back in 2009/2010. So can anyone tell me why the Blade  attracts so many “race me, race me” type folk. 

I have had everything from skidding / wheel spinning white van men nearly driving over me at the lights on the way to the Rocket Centre to Corsa screaming girl racers to Subaru drivers sniffing my exhaust whist I had Ben on the back. What is with these people?

Being overtaken in a 50 mph zone with double white lines heading into Blackpool town centre by a Kawasaki 600 on the wrong side of both the legal limit and the white lines just does not impress me. Maybe I’m being a little naive or just showing my age but is it really necessary to ride and drive like total “wazocks” when in the presence of a Honda CBR1000 RR?  

Fine if your in a hurry or just plain stupid then fair enough but do me a favour, leave me out of the equation. I’m just not interested! Plus with my luck as with white van man in Blackburn, as he wheel spun away from the lights. If I’d bitten and shot off at the speed the Blade is capable off I’m sure the police car that was two cars back would have nabbed me not the plank in the van! 

However to end this update on a more positive note I’d just like to pass on a heart felt thanks to all the folks who frequent the 1000RR Forum for all the help and assistance. When it comes to information about the Blade, touring, track days and just all round good banter I’ve just got to say “It’s one of the best forums I’ve had the pleasure of frequenting in years”. Cheers Guys your combined knowledge about the Blade is astounding. 

180.3 Miles on one tank of fuel
Now that's impressive

As with all my bikes I always draw up a dreamers ‘Wish List’ and the Blade is no different. So here is ‘Raymondo's Wish List’


and that, as they say in all the good movies, is that!

So with 'Raymondo's Wish List’ costing in the region of the Blade it’s self I think I’ll be happy sticking with my Blade just as it is for some considerable time to come. "Or will I?"


“Ride well & stay safe. It’s a jungle out there”. Bye for now.

Tuesday, 28 January 2014

Fitting Sato Racing Street Hooks to a CBR1000RR

To be honest I had never heard of Sato Racing Street Hooks let alone thought about fitting a set. 


I was busy trawling the 1000RR Forum, as I often do since buying the Blade, and came across a photo of a bike with Sato Racing Hooks which I immediately liked due to there neat and tidy appearance. Reading on a little further I discovered Sato Racing made two specific styles of Hook’s. The Race Hooks are, as the name implies, designed as a secure anchor point for race bikes to be attached to trailers.

The Street Hooks do the same job but with the added benefit of allowing you to re-attach the pillion foot pegs in a mater of minutes. This is perfect for my requirements as Ben and Jeannie both enjoy a ride out every now and again.

What I want is a tidy rear end on the Blade! With the stock pillion foot pegs being silver I just had to do something to sort them out and so I ordered a set of  Black Sato Racing Street Hooks from IntoBikes then waited 10 days for them to arrive. As ever the time flew and before I knew it they were sat on my office desk waiting to be fitted.

With nothing in the diary for today I set about the task of fitting the Street Hooks having read a number of posts assuring me it was a steady 2 hours job.

Here’s my guide to fitting the Sato Racing Street Hooks.

1) First of all you ned to “Tool Up!”

a) 5mm Allen Key (Long & Short)
b) 6mm Allen Key 
c) 8mm Spanner
d) 12mm Spanner
e) 14mm Spanner
f) 14mm Socket & Wrench (Socket wrapped in masking tape to prevent scratching)
f) Philips Screwdriver
g) Fine Blade Electrical Screwdriver


2) Set the bike up so it’s easy to work on and  place a towel over the rear hugger or rear wheel if you do not have a hugger fitted.


3) Remove rear seat using ignition key. Unclip the 2 covers found under the front seat taking care not to brake the mounting lugs, unscrew the 2 phillips crews and remove the front seat. Lay out parts in order as you go.


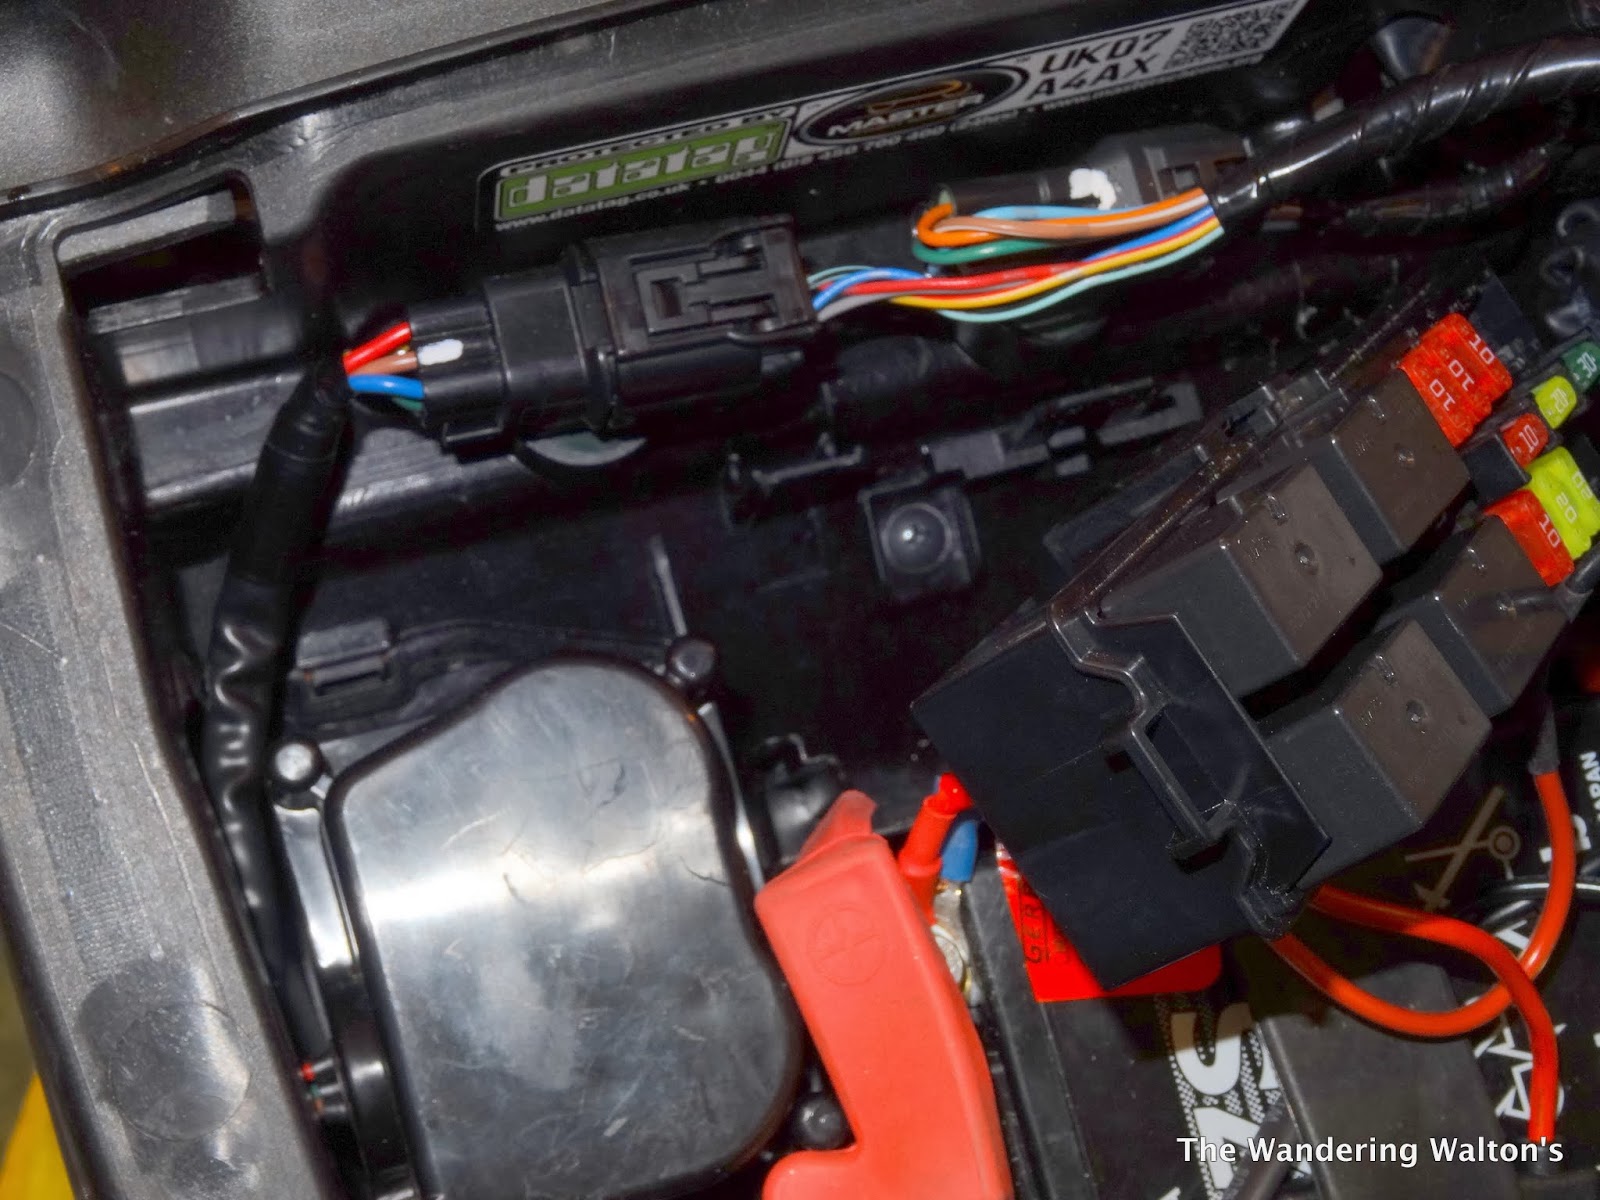
4) Take the fine electrical screwdriver and slide it down the back of the fuse block between the very slim mounting clip and lift the box up and forward. This will reveal a phillips screw that holds the rear light section in place at the front. Remove the screw and whilst your there disconnect the right hand electrical connector. Also unclip the small white electrical connector tucked down the right hand side (when your stood on the right of the bike looking back) of the battery.


5) In my case I removed the Venture Luggage Rack. If you do not have a rack fitted you will find 4 black 5mm allen screws tucked inside the pillion grab holes under the rear fairing. Use a torch if you are struggling to see them and remove 2 of the 4 allen screws with the long 5mm allen key. Loosen the remaining 2 allen screws but  leave attached to carry the weight of the rear light section.


6) Working from above remove the 4 black 5mm allen screws and the 2 push though plastic pins from the rear fairing. Also remove the 2 chrome 5mm allen screws just behind the tank cover and the 2 on the side just in front of the seat fastening screws. Lay all parts in order to one side.


7) Now stand at the back of the bike and holding the rear fairing assembly as far forward as possible ease the left side out and lift, then do the same to the right. You need to unhook the two plastic lips from within their slots. Once you have done this just slide the whole section backwards and put with the rest of the kit.


8) Next remove the two loose allen screws from underneath the rear grab holes and slide the whole light assembly back and away from the bike. Carefully passing the two electrical connectors through the hole in the frame.


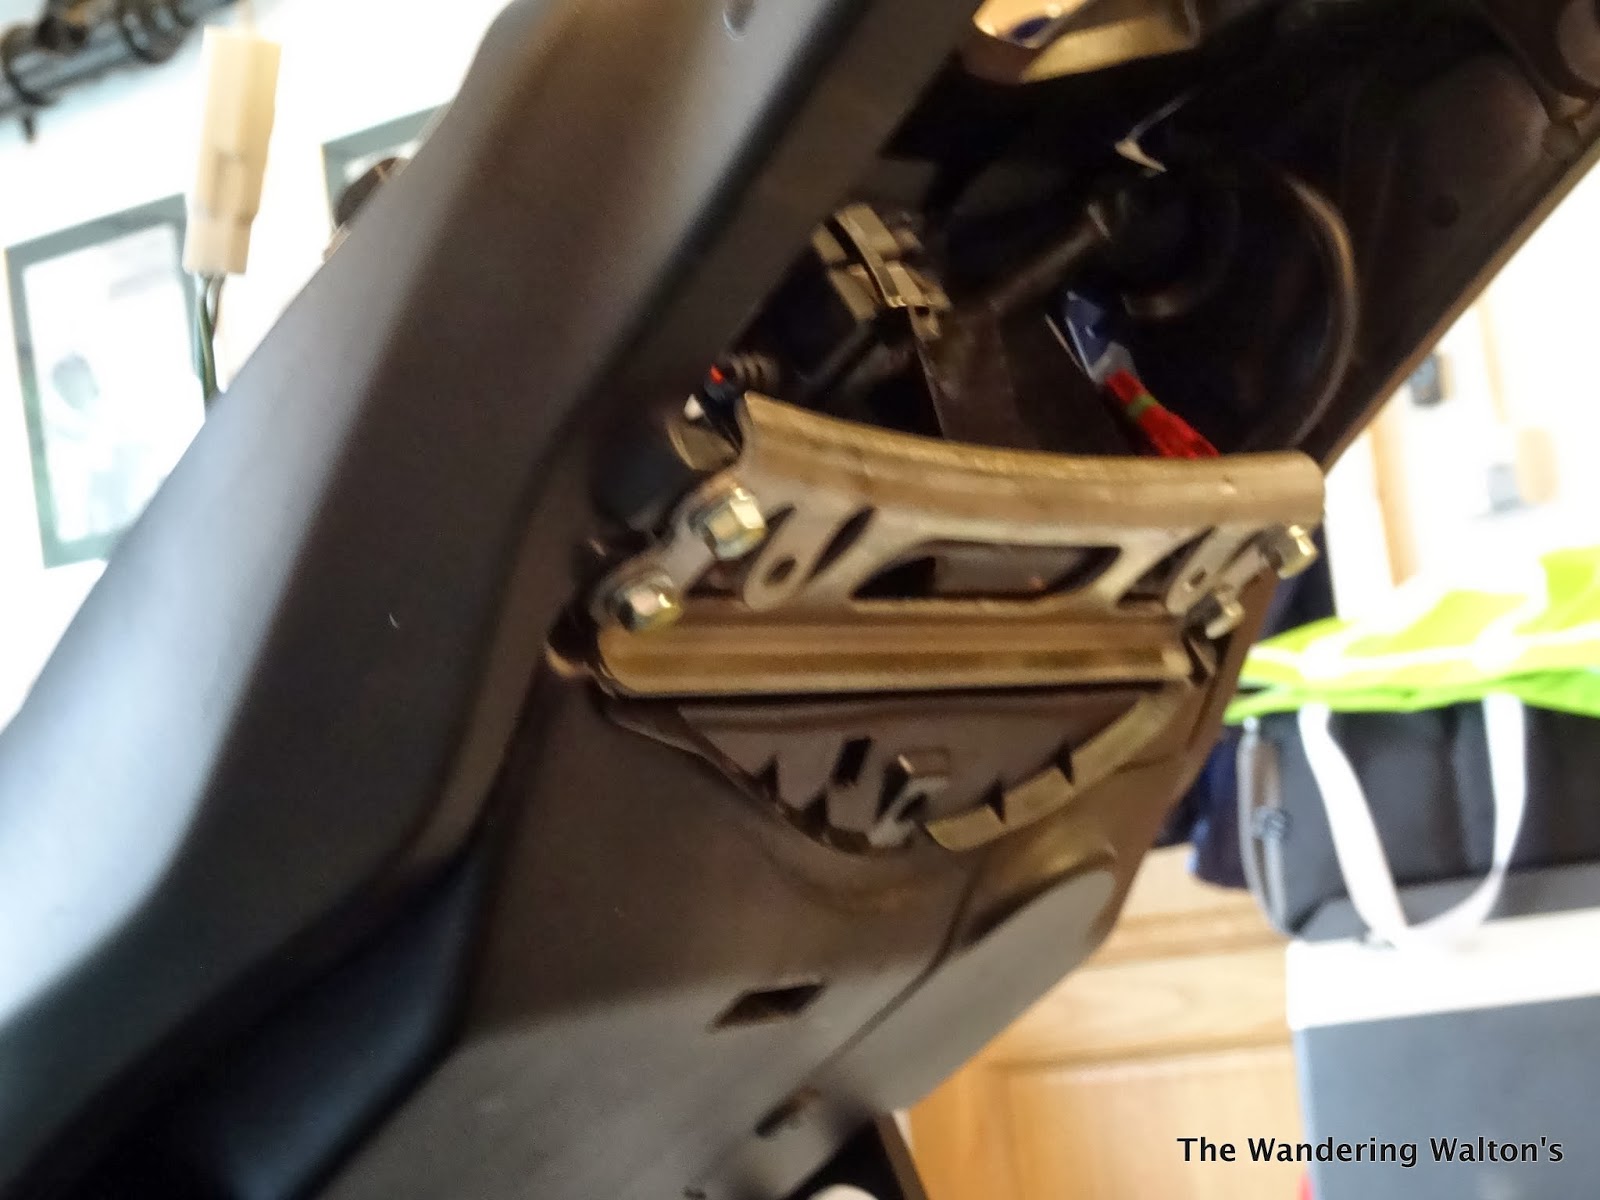
9) I then removed the rear seat lock assembly using the 8mm spanner followed by the aluminium cross member underneath using the same 8mm spanner.


It’s now time for a brew!

10) In readiness for splitting the sub frame I layer a cloth on the floor so as to protect the paintwork. Using a 12mmm spanner remove the bolt at the very rear of the sub frame.


11) Now with the 14mm socket and wrench remove the two bolts holding the right hand side sub frame to the main frame. The right hand side sub frame will now lift away once unhooked from the battery case which just hooks over the top edge a little.


12) Place the right hand side sub frame face down and remove the rear foot peg using a 6mm allen key. There is a fair amount of thread lock on the bolts. The bolts will make a loud ‘crack’ sound as the thread lock gives way. If you are struggling, use a 6mm allen wrench for extra leverage.


13) Attach the Sato Street Hooks using the original 6mm allen bolts.


14) Re-attach the right hand sub frame to the main frame using the 14mm socket and wrench. You will need the 14mm spanner to hold nut on the lower longer bolt in order to tighten it up.


15) Repeat the process on the left hand side.

Taking your rear end from this

To this

To this in a matter of minutes
Result!

16) With both sub frames re-attached start to re-assemble the rear section. Refit the locking mechanism, re-insert the 2 plastic clips. I took this opportunity to fit slightly larger and stronger clips.


17) Re-fit the lower cross member and the 12mm bolt at the very rear. Slide the rear light assembly back into place and fasten loosely with the 4 black 5mm allen screws then attach the philips screw under the fuse box. I threaded the wiring back through the hole and clipped the two electrical connectors back together and refitted the fuse box at the same time. With that done I tightened the rear light assembly bolts in the pillion grab holes. Test your indicators and brake light before going any further.


18) Next refit the rear fairing section ensuring the two plastic lips slot back into their relevant slots. Now screw the 4 black 5mm allen screw back in, do not be tempted to push them through the rubber as its far easier to just crew them in.


19) All that is left to do now is refit the rear seat (or cowling) and refit front seat and side panels.

20) Now stand back and admire your Sato Racing Street Hooks!


As a foot note. I am no mechanic and the whole process took two hours, that included me Tweeting the whole process and taking loads of Photo’s. If you do decide to undertake this task, this blog is meant purely as a guide and I will not be held responsible in any way, shape or form for your work.